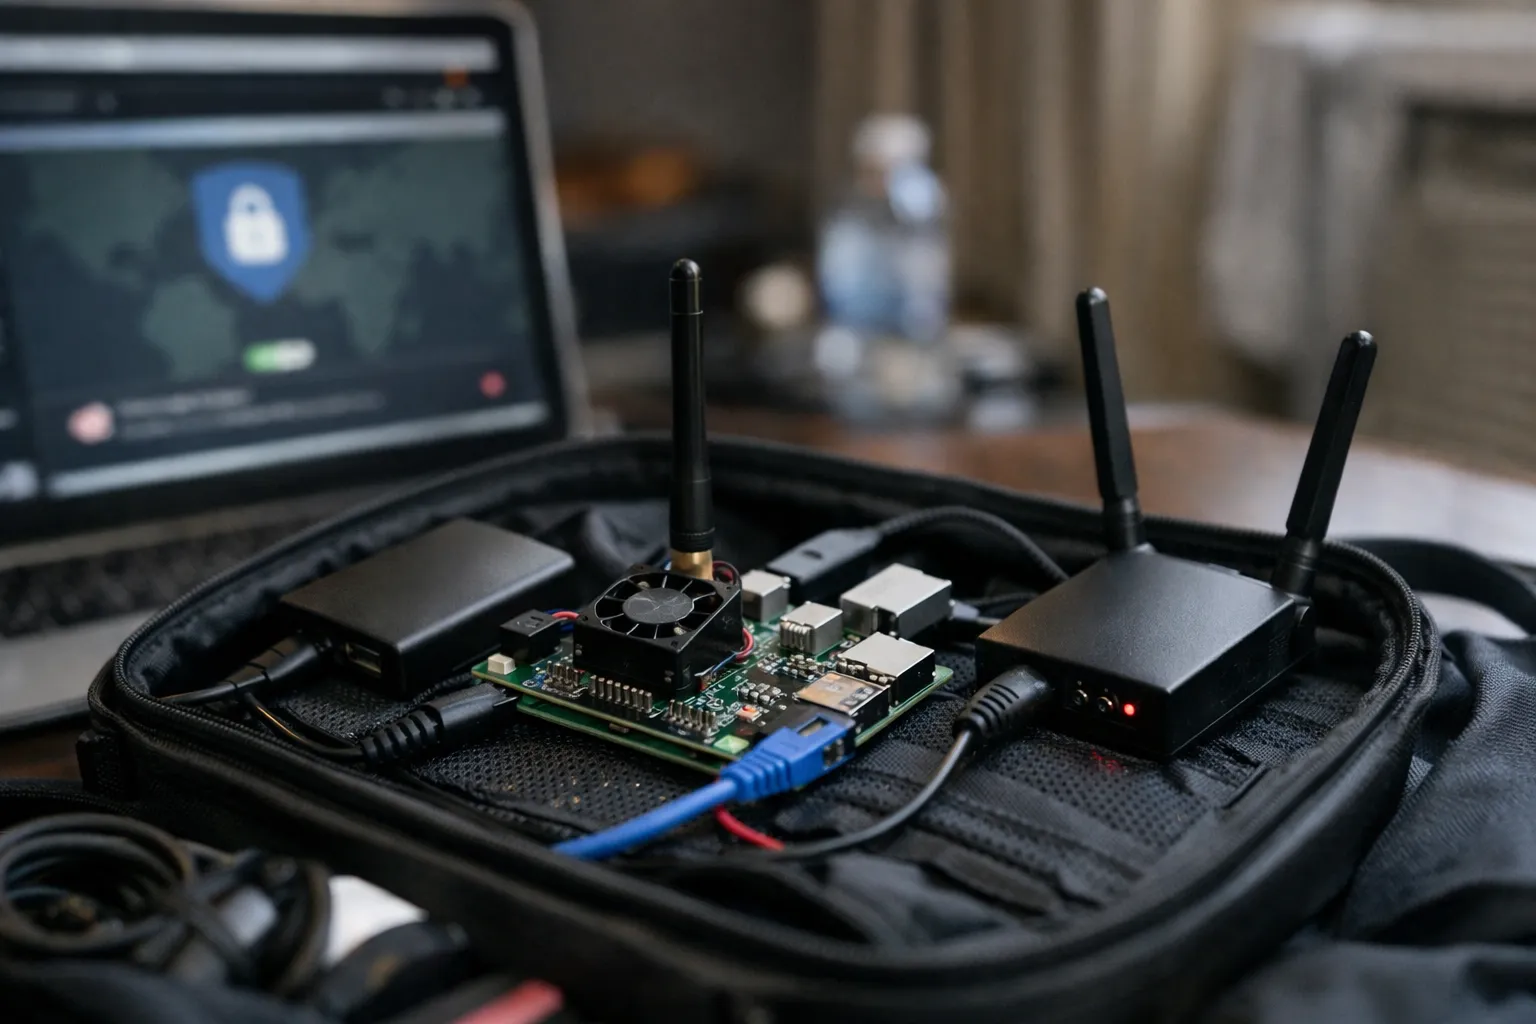
Traveling with sensitive data or relying on untrusted Wi‑Fi often means a tradeoff between convenience and privacy. A small, battery-friendly privacy router built on a Raspberry Pi 5 can give you a portable, auditable gateway that enforces a single trusted egress (a VPN), segregates devices, and fails safe when connectivity is lost. This guide walks through building a travel-ready privacy router in 2026 that uses WireGuard for VPN, LUKS volumes sealed to a TPM2 for local key protection, a physical GPIO-based kill-switch, per-device routing policies, and cellular fallback for reliable connectivity.
What this guide covers — and the tradeoffs
This is a practical how-to aimed at VPN enthusiasts comfortable with Linux and hardware tinkering. You'll get:
- Hardware and software component list tuned for travel
- Secure storage of WireGuard configuration on a TPM‑sealed encrypted volume
- Implementation of a physical kill-switch using a GPIO input
- Per-client routing policies so some devices can bypass the VPN while others must use it
- Cellular failover and service monitoring so your router keeps working away from wired networks
Tradeoffs: This setup favors security and auditability over plug-and-play convenience. It is not a consumer-grade all-in-one appliance — it requires occasional maintenance, firmware updates, and understanding of Linux networking.
Hardware and software checklist
- Raspberry Pi 5 (preferably with metal case for heat) and USB-C power supply (or battery pack with pass-through).
- microSD for OS boot (64‑bit Ubuntu Server 24.04 or Raspberry Pi OS 64-bit) and an optional external NVMe/USB SSD for encrypted storage.
- TPM 2.0 module compatible with Pi 5 (Infineon SLB 9670 or equivalent HAT) — used to seal LUKS keys to the device hardware.
- USB cellular modem or travel hotspot that exposes an RNDIS/USB interface (e.g., Quectel EC25 family or modern 5G USB modems) for failover.
- A small toggle switch wired to a free GPIO pin (with a resistor) to act as a hardware kill-switch.
- Optional: compact managed switch or travel router to create separate SSIDs for “secure” and “open” networks.
- WireGuard-capable VPN account (provider that supports custom WireGuard keys/endpoints) or your own WireGuard server.
Step 1 — Base OS, partitioning and encrypted storage
Install a recent 64-bit distro. Ubuntu Server 24.04 LTS works well on RPi 5 and receives timely security updates. Apply the following baseline hardening after first boot:
- Enable unattended-upgrades for security patches.
- Create a non-root admin user and disable password login for root and SSH (use SSH keys only).
- Install essential packages: wireguard, nftables, iproute2, network-manager or systemd-networkd, tpm2-tools, cryptsetup, and resolvconf/unbound for DNS control.
Move WireGuard private keys and sensitive configs off the SD card onto an encrypted volume on the external SSD (recommended). Create a LUKS partition on the SSD and enroll the TPM2 as an automatic unlock method so the private key remains inaccessible if the SSD is removed.
At a high level: create a LUKS container on the device (cryptsetup luksFormat), then use systemd-cryptenroll --tpm2 to enroll the TPM key-slot, which stores a sealed object in the TPM and allows the system to unlock the LUKS volume on the same hardware at boot. Store /etc/wireguard and any VPN secrets inside the unlocked volume.
Benefits: if the SSD is stolen, the attacker cannot read WireGuard keys without the original TPM. Note: enrolling the TPM for auto-unlock means the Pi will unlock itself at boot; if you want an extra manual PIN, use systemd-cryptenroll --tpm2-pcr or add a passphrase.
Step 2 — WireGuard: configuration and secure key handling
Install WireGuard kernel module and tools. Generate keys inside the encrypted volume. Typical commands are wg genkey | tee privatekey | wg pubkey > publickey, but do this inside the mounted LUKS device so privatekey never touches unencrypted media.
Keep these operational notes in mind:
- Use persistent, single-use endpoints where possible. If you travel and frequently change networks, prefer remote server endpoints with stable domain names and short-lived preshared keys if your provider supports them.
- Tune MTU: travel networks and tethering can encounter MTU constraints. For WireGuard over UDP, 1420 for the peer MTU is a safe starting point; adjust using trial tests (ping with large payloads and DF bit).
- Run wg-quick for simplicity, but prefer explicit iproute2 and nftables rules for production reliability and per-client policies.
Step 3 — Implement a GPIO-based hardware kill-switch
A physical kill-switch gives you immediate assurance: if you flip it, the router drops the VPN and/or cuts all WAN traffic. Two common designs:
- Bring down the WireGuard interface only (wg-quick down) so no traffic routes to the VPN but local LAN remains.
- Disable all outbound networking by removing default routes and blocking INPUT/FORWARD chains in nftables — this is safer if you want a total “airplane mode”.
Hardware wiring: connect a momentary or latching toggle between a chosen GPIO pin and ground, add a 10k pull-up resistor, and configure the pin as an input with edge detection.
Software: run a lightweight systemd service or Python daemon that listens for pin state changes using libgpiod or raspi-gpio. When the button is pressed, the service runs a script to either bring down the WireGuard interface or replace the current nftables ruleset with a “safe” drop-all configuration. Protect the service with proper systemd permissions and require root for network actions.
Step 4 — Per-device policy routing (who uses VPN vs direct)
Not every device needs the VPN. You may want IoT devices to use your local uplink directly while phones use the VPN. Implementing this requires marking packets at the bridge or router and routing marked traffic via a separate ip rule that points to a routing table with the VPN default route.
- Assign static DHCP leases or reserve IPs for devices you want policy for.
- Create nftables/ip rule that marks packets from a given source IP or MAC (iptables -t mangle -j MARK or nftables 'meta skgid' / 'ip saddr').
- Create an ip rule: ip rule add fwmark 0x1 table 200 and configure table 200 with default route via the WireGuard interface.
This lets you implement “forced VPN” for specific hosts. Test thoroughly so devices that need internet access don’t get accidentally isolated.
Step 5 — Cellular failover and automatic reconnection
Travel routers must work when wired Wi‑Fi is unreliable. Use NetworkManager or systemd-networkd to define two WAN connections: primary (Wi‑Fi or Ethernet) and secondary (cellular modem). Use a simple health-checker (a small systemd timer or script) that probes a stable endpoint (for example, your WireGuard server IP or 1.1.1.1) and switches default route on failure.
Key points:
- Bring up WireGuard over any available uplink by using dynamic AllowedIPs and keepalive settings (PersistentKeepalive=25) to maintain NAT mappings when on cellular networks.
- Prefer IPv4 for failover unless your provider reliably supports IPv6 routing. If the cellular link only offers IPv6, ensure your VPN provider supports IPv6 or use NAT64/464XLAT locally.
- Monitor data usage—cellular can be costly. Configure data caps and automatic teardown of heavy flows (P2P, large downloads) when on cellular using nftables rate-limiting.
Step 6 — DNS hardening and leak prevention
DNS is the most common leakage vector. Run an on-device DNS resolver like Unbound or a small DoT/DoH stub resolver (Stubby) and force all clients to use it via DHCP options. Ensure the resolver sends upstream queries through the VPN interface by binding it to the VPN IP or marking its traffic and routing the mark via the VPN table.
Additional measures:
- Drop all outbound DNS (UDP/TCP 53) packets that are not from the local resolver to prevent devices from bypassing it.
- Disable IPv6 on interfaces you don’t control, or ensure the VPN provider supports IPv6 and you configure matching firewall and routing rules for v6.
Operational hygiene, testing and recovery
Before travel, run a checklist:
- Test for IP and DNS leaks using multiple public leak test sites and by querying your WireGuard server logs to confirm client IPs.
- Verify kill-switch behavior: flip it, then inspect routes (ip route show) and firewall rules (nft list ruleset) to confirm the expected state.
- Test failover: unplug the primary uplink and confirm cellular attaches and WireGuard reconnects within expected time.
- Simulate SSD removal: confirm that the Pi will boot but the encrypted volume is unavailable and that no sensitive keys are exposed on the unencrypted filesystem.
Backups: maintain an encrypted backup of your WireGuard private key and configuration in secure cloud storage or an encrypted USB key. If you rely on the TPM-sealed LUKS slot, be sure to document how to recover or re-enroll a replacement TPM if the hardware fails.
Security hardening and maintenance
- Keep the OS and WireGuard package updated. Use unattended-upgrades but test remotely accessible components carefully so updates don’t brick your gateway in travel scenarios.
- Use nftables with a default deny posture for FORWARD and INPUT. Allow only necessary ports for remote management and consider using a bastion host or flip-to-open maintenance mode physically (via the kill-switch) before performing remote upgrades.
- Log minimally but sufficiently: log failed login attempts and WireGuard connection events. Send non-sensitive telemetry to a remote aggregator if you want central monitoring, but avoid exposing device secrets.
Wrap-up: why this approach works for travel
This design balances privacy, physical control, and resilience: WireGuard provides efficient encrypted tunneling; LUKS volumes sealed to a TPM protect keys at rest; a physical kill-switch gives instant, verifiable control; and cellular failover keeps you connected when networks are hostile. You trade some complexity and maintenance overhead for a portable device that’s auditable, repairable, and under your control—ideal for privacy-conscious travelers and power users who want more than a commercial travel router can offer.
Further reading and references
- WireGuard documentation and best practices for MTU and keepalives
- systemd-cryptenroll and TPM2 tools for LUKS auto-unlock
- nftables and iproute2 policy routing examples for per-host VPN enforcement
Follow these steps and adapt to your provider and threat model. With careful testing and a modest hardware investment, you’ll have a travel-ready privacy router that significantly raises the bar for your on-the-road security.