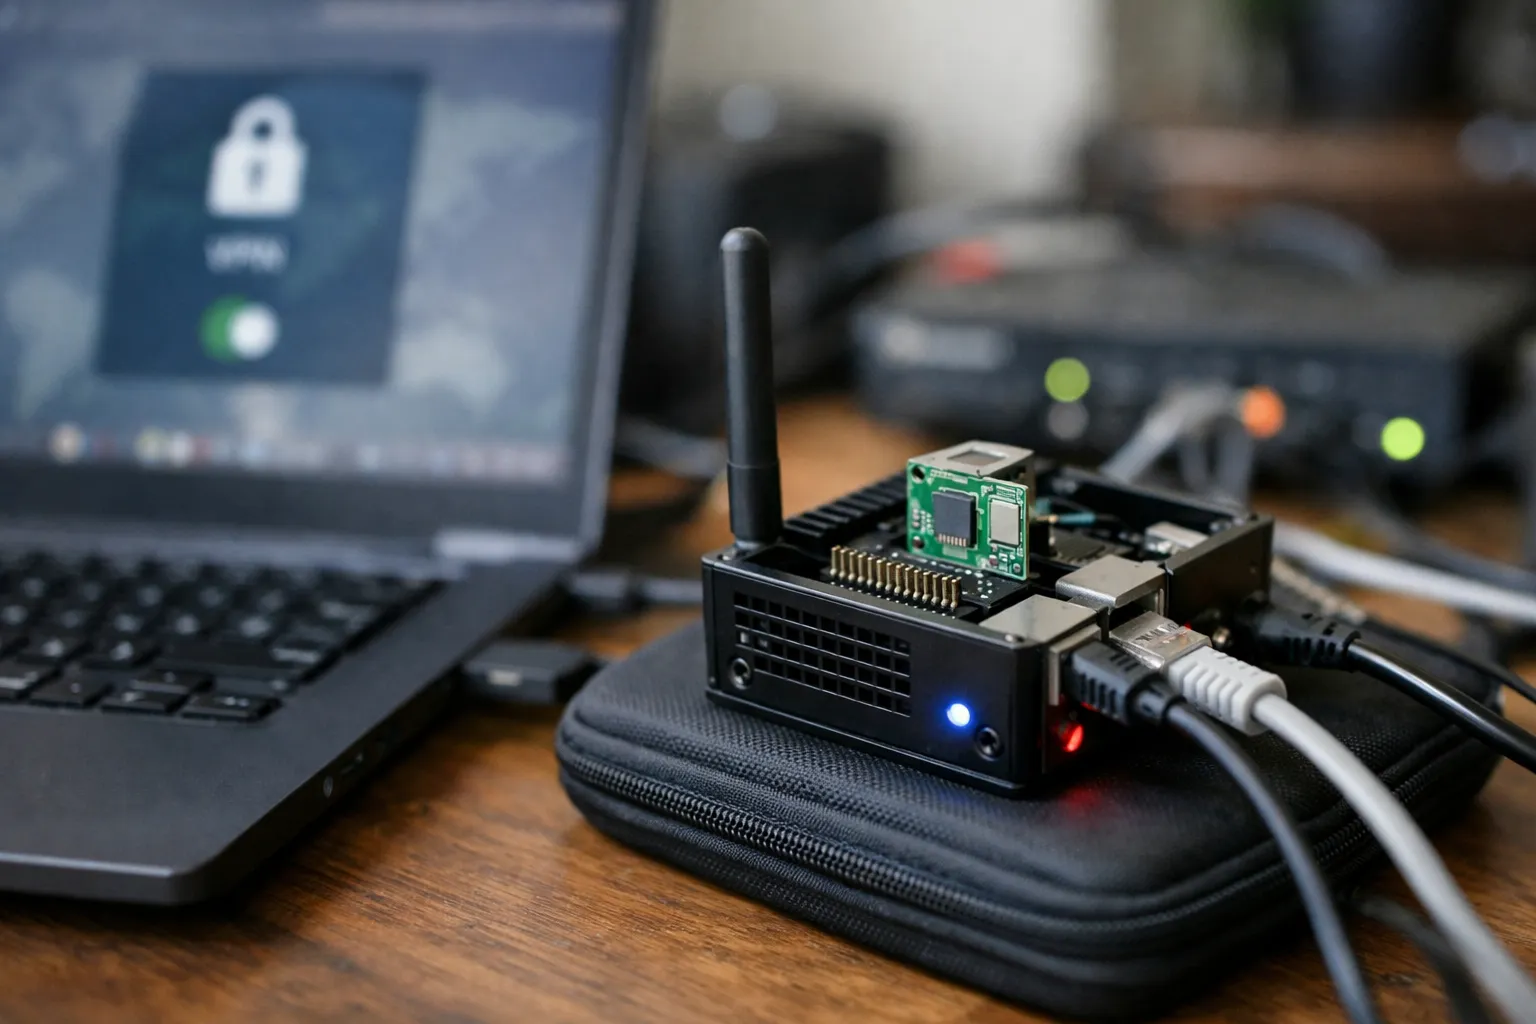
What you will learn: How to build a portable, privacy-focused VPN gateway on a Raspberry Pi 5 using WireGuard, LUKS full-disk encryption, TPM 2.0 key sealing, nftables-based kill-switches, tamper-evident signed logs and safe automated updates. This guide is for hobbyists, privacy-minded travelers, and small-scale operators who want a reproducible, verifiable appliance you control.
Prerequisites and context
Since the original July 2026 article, two practical trends matter for this build:
- Hardware and OS: Raspberry Pi 5 remains a cost-effective, performant single-board computer for WireGuard use in 2026. Ensure your Raspberry Pi OS build is the latest stable 64-bit image (Debian 12+ base kernels 6.x or later are recommended for best WireGuard, TPM and NVMe support).
- Tooling and signing: Sigstore and Rekor have become mainstream for signing software and manifests; use them to add transparency to configuration and recovery artifacts. Vector and Fluent Bit are now common, lightweight log shippers you can substitute for rsyslog if you prefer.
Required technical background: comfort with Debian-based Linux administration, systemd service creation, basic PKI concepts, and some familiarity with TPM concepts (PCRs, sealing/unsealing).
What you need (updated)
- Hardware: Raspberry Pi 5 (or a comparable SBC with TPM 2.0 support), USB 3.0/3.2 NVMe enclosure + SSD (≥64 GB recommended for logs and headroom), a microSD for boot (minimal), a discrete TPM 2.0 HAT (Infineon OPTIGA/Tang or compatible), Ethernet cable and robust power supply.
- Services & accounts: remote log collection endpoint you control (TLS + client certs) — or use a hosted destination that meets your threat model; dynamic DNS provider or Cloudflare for remote access; secure off-device backup (private Git repo, S3-like storage, or offline recovery media).
- Software: current Raspberry Pi OS (64-bit), wireguard-tools, cryptsetup (LUKS2), tpm2-tools and tpm2-tss, nftables, systemd-networkd or wg-quick, unattended-upgrades, SOPS/age or Sigstore for config signing, vector/fluent-bit or rsyslog for TLS log forwarding.
Why this architecture matters (brief)
This design isolates secrets (WireGuard private key) from disk theft via TPM sealing and LUKS; limits data leaks with a robust firewall kill-switch; and provides forensic evidence through cryptographically signed log snapshots sent to an off-device collector. In 2026 the attack surface around small travel routers is still dominated by misconfiguration and lack of tamper-evident telemetry — this approach closes those gaps affordably.
High-level steps (updated)
- Prepare OS and boot strategy: microSD boot with root on LUKS-encrypted NVMe SSD.
- Install packages and apply baseline hardening; choose systemd-networkd for production, wg-quick for quick deployments.
- Provision TPM 2.0, create sealing policy (PCR-based), and seal an encrypted WireGuard private key; automate unseal to tmpfs on boot.
- Create WireGuard config, and integrate with systemd or systemd-networkd for reliable lifecycle events.
- Implement nftables-based kill-switch tied to wg0 state; integrate a systemd watch that ensures no traffic when tunnel is down.
- Implement tamper-evident logging: hourly snapshots, hash chaining, sign with Sigstore or an off-device key, and forward to remote collector over TLS.
- Set up safe automated updates and signed configuration GitOps using Sigstore/Rekor and sops/age for secrets.
Step 1 — OS, partitioning and LUKS root (updated recommendations)
Use the latest Raspberry Pi OS 64-bit image available at the time of deployment. Confirm the kernel version (prefer 6.x+ through 2026) which improves WireGuard, TPM and NVMe drivers. For portability and durability, place root on an encrypted NVMe SSD and use the microSD only for /boot and initial firmware. This keeps read/write cycles off the microSD and makes core storage replaceable.
Example workflow (conceptual):
- Partition the SSD: small EFI-like or boot partition if needed by your setup, large LUKS2 partition for root.
- Initialize LUKS2:
cryptsetup luksFormat /dev/sda2, thencryptsetup open /dev/sda2 ssdroot. - Create filesystem on
/dev/mapper/ssdroot(ext4 or f2fs), rsync the rootfs from the running microSD, update/etc/fstaband/etc/crypttabon the microSD root for correct boot unlocking.
Keep /boot small and unencrypted to accommodate Raspberry Pi firmware; store LUKS keyfiles outside the encrypted device only if they are themselves protected by TPM sealing (see next step).
Step 2 — Base hardening and required packages
Install a minimal set of packages. Example:
apt update
apt install wireguard wireguard-tools cryptsetup tpm2-tools tpm2-tss nftables \
unattended-upgrades rsyslog openssh-server fail2ban sops age
Decisions:
- SSH: disable password authentication (
/etc/ssh/sshd_config:PermitRootLogin no,PasswordAuthentication no). Use a passphrase-protected keypair and keep an offline copy of the public key in your config repo. - Service manager: use systemd-networkd for deterministic network lifecycle integration in production; wg-quick remains fine for labs and quick installs.
- Unattended upgrades: enable but add pre/post hooks to validate network-critical components before finalizing reboots.
Step 3 — WireGuard keys and TPM-sealed private key
Generate keys on-device:
umask 077
wg genkey | tee /etc/wireguard/privatekey | wg pubkey > /etc/wireguard/publickey
Protect the raw private key by encrypting it with a symmetric key and sealing that symmetric key to TPM PCRs that represent a known-good boot state. The high-level pattern:
- Create a symmetric key (e.g., AES-256) and use it to encrypt the private key with openssl or age.
- Use tpm2-tools to create a sealed object tied to a PCR policy (
tpm2_createprimary,tpm2_create, andtpm2_load) or to usetpm2_policyauthorizeif you use measured boot plus signatures. - On boot, a small systemd unit runs
tpm2_unsealinto a tmpfs file (mode 0600) and the WireGuard service reads that key; the plaintext key never touches persistent storage.
Why this helps: if someone steals the SSD, without the physical device state and its TPM the private key cannot be unsealed. Caveat: PCR-based sealing is strict — firmware, bootloader or kernel updates that change PCRs will prevent unsealing until you reseal the object in a known-good state. Maintain a documented reseal procedure and a secure offline recovery token.
Step 4 — WireGuard configuration and dynamic DNS
Create /etc/wireguard/wg0.conf with a static internal subnet (e.g., 10.7.0.1/24), peers, allowed IPs and endpoint details. For remote endpoints that are cloud-based use stable endpoints; for personal exit nodes use dynamic DNS and register the device's public IP at boot with Cloudflare or another provider.
Options for better reliability (2026):
- Use systemd-networkd +
wg-quick@wg0.serviceor a native networkd.netdev/.networkpair for cleaner integration of firewall rules on link up/down. - For dynamic endpoints, run a small background updater that posts to Cloudflare's API (token-based) or use ddclient; prefer API tokens with least privilege.
Step 5 — nftables kill-switch and systemd monitoring
Use nftables to implement a strict outbound policy: drop all outbound traffic on the LAN-facing interface unless it is destined for the WireGuard endpoint or traverses wg0. Tie policy application to WireGuard state with systemd to avoid race conditions.
- Create an nftables base script that sets default drop policies and explicit accept rules for wg0 and local subnets.
- Create a systemd unit that runs on
network-online.targetand hooks intowg-quick@wg0.servicewithExecStartPost/ExecStopPostto (re)apply the precise rules. - Implement a watchdog service that monitors the WireGuard handshake (via
wg show wg0 latest-handshakes) and triggers a full teardown if handshakes are stale longer than your acceptable threshold.
Why nftables: it supports atomic rule replacement and easier match semantics than legacy iptables; it also integrates with conntrack for NAT. For advanced users, eBPF-based filtering is now mature and can offer lower overhead — but nftables remains broadly accessible and easier to audit for most users.
Step 6 — Tamper-evident logging and off-device collection
Local logs can be altered after physical access. This pipeline minimizes that risk:
- Every hour snapshot recent logs (journalctl --since "1 hour ago") into a tmpfs file.
- Create a hash chain: compute SHA-256 (or BLAKE2b) of the snapshot and concatenate it with the prior chain head to produce the new chain head; sign the chain head using Sigstore or an off-device GPG/age key.
- Forward the snapshot + signed chain head to a remote collector over TLS using Vector/Fluent Bit or rsyslog with client certificates. Configure retry/backoff and store-and-forward for intermittent networks.
Why Sigstore: by 2026 Sigstore’s transparency log model is an accepted way to add non-repudiable provenance for artifacts. Use Rekor to anchor config changes and sign-off releases of your configuration repo. On the collector, automatically verify chain continuity and raise alerts on gaps or signature mismatches.
Step 7 — Automated updates and signed configuration management
Unattended upgrades improve security but are risky for network-critical appliances. Use a staged approach:
- Maintain a signed configuration repository. Use SOPS (age or PGP) for secrets and Sigstore/Rekor for signing commits or release artifacts.
- On-device, run a small reconcile agent that pulls the latest signed release, verifies the signature, and applies idempotent changes.
- Configure unattended-upgrades with pre/post hooks: before a restart, run a dry-run that ensures WireGuard loads and a minimal connectivity check passes (e.g., can reach the remote log collector). If the check fails, defer reboot and enter a safe-mode that notifies you via the remote log channel.
This gives you a maintainable, auditable pipeline and a recovery path if a kernel or package update breaks your networking stack.
Testing, recovery and operational tips (updated)
- Test theft scenarios: remove the SSD and verify the WireGuard private key cannot be unsealed on another Pi.
- Test outage modes: simulate the remote endpoint outage and confirm kill-switch blocks leaks and that an event is appended to the log chain once connectivity returns.
- Keep a secure, offline recovery token: an encrypted USB containing a signed recovery manifest and instructions, stored separately from the appliance.
- Refresh TPM seals quarterly and always re-seal after firmware or UEFI/bootloader updates that change PCRs.
- Consider commercial alternatives (GL.iNet, Vilfo) if you prefer a fully packaged solution; this guide focuses on an auditable DIY appliance you control end-to-end.
Common mistakes to avoid
- Sealing keys to PCRs without a reseal plan: PCR changes from updates will break unseal — document and test reseal workflows.
- Relying solely on on-device logs: always forward signed snapshots to an off-device collector under your control.
- Using weak dynamic DNS tokens: prefer scoped API tokens and rotate them periodically.
- Skipping firewall rules ordering: apply nftables atomically to avoid transient leak windows during interface transitions.
Pro tips
- Use systemd's
RestartSecand watchdog features to make recovery deterministic after transient failures. - Prefer BLAKE2b for internal hash chains if you need faster hashing with equivalent security for signing chains locally; still sign the chain head with an external key.
- Log early: forward a minimal 'heartbeat' every 5–15 minutes so you can detect long-term network blackouts that might be a sign of tampering.
- Use Sigstore + Rekor to publish a signed manifest of your device’s config and public key; this gives you verifiable provenance if you need to rebuild or audit later.
Maintenance checklist
- Weekly: verify remote log chain continuity and WireGuard peer handshakes; check unattended-upgrades logs.
- Monthly: test pull and verification of signed config in staging; rotate dynamic DNS tokens and TLS client certs as needed.
- Quarterly: reseal TPM objects after any firmware/OS updates that change PCRs; audit nftables rules and test kill-switch exits.
Why this still matters in Sept 2026
Small travel and home routers remain a common attack vector because stock devices often lack secure update workflows and tamper-evident telemetry. Building your own appliance with separated secrets, sealed keys and verifiable logs gives you a defensible posture for privacy-aware users and families. The components described here are mainstream in 2026: TPM 2.0 on add-on HATs is broadly supported, Sigstore and vector-style log shippers are production-ready, and WireGuard continues to be the practical modern VPN kernel path for small appliances.
Conclusion
The Raspberry Pi 5 remains an excellent balance of cost, power and ecosystem support for a portable privacy VPN appliance in 2026. The core defensive pattern—encrypt at rest, bind keys to device state (TPM), restrict egress (nftables kill-switch), and forward signed logs off-device—remains best practice. Combine those elements with signed configuration workflows and tested recovery processes and you'll have a compact, auditable VPN gateway you can trust to protect your family or travel devices.
FAQ
Do I need a TPM HAT or can I use software-only sealing?
Hardware TPM 2.0 provides stronger protection against key exfiltration because sealed objects can only be unsealed on the device that owns the TPM. Software-only approaches (e.g., keyfiles on a microSD) are simpler but expose you to theft risk. If you want true device-bound secrets and can accept the operational complexity of resealing after firmware updates, use a TPM HAT.
Is wg-quick adequate or should I use systemd-networkd?
wg-quick is perfectly fine for personal and test deployments; it is simple and well-known. For production-grade behavior—clean link up/down hooks and deterministic ordering of firewall rules—systemd-networkd (native netdev/.network files) provides better lifecycle guarantees. Choose wg-quick for speed and systemd-networkd for reliability.
How do I recover if PCR values change after a firmware update?
Plan for this: keep an offline re-seal procedure. That typically means booting the device in a known-good state, generating a new sealed object with the updated PCR values, and storing that sealed object and a signed manifest in your secure config repo. If you cannot access the original device state, use your offline recovery token (secure USB) that contains a secondary key for emergency access.
Can a remote attacker who controls the network stop my logs from reaching the collector?
Yes — a network-level attacker can block uploads. Mitigate by implementing store-and-forward, exponential backoff, and multiple remote collectors (different networks). Also add local signed snapshots so even if the immediate upload fails, you retain the cryptographic evidence that can be uploaded later from another network.
Should I use Sigstore for signing my configs and logs?
Yes. By 2026 Sigstore and Rekor provide an auditable transparency log and simplified signing workflows. Use Sigstore to sign release manifests and Rekor to anchor those artifacts. For secrets use sops/age or PGP; store signed artifacts in your config repo so device pulls always verify provenance.