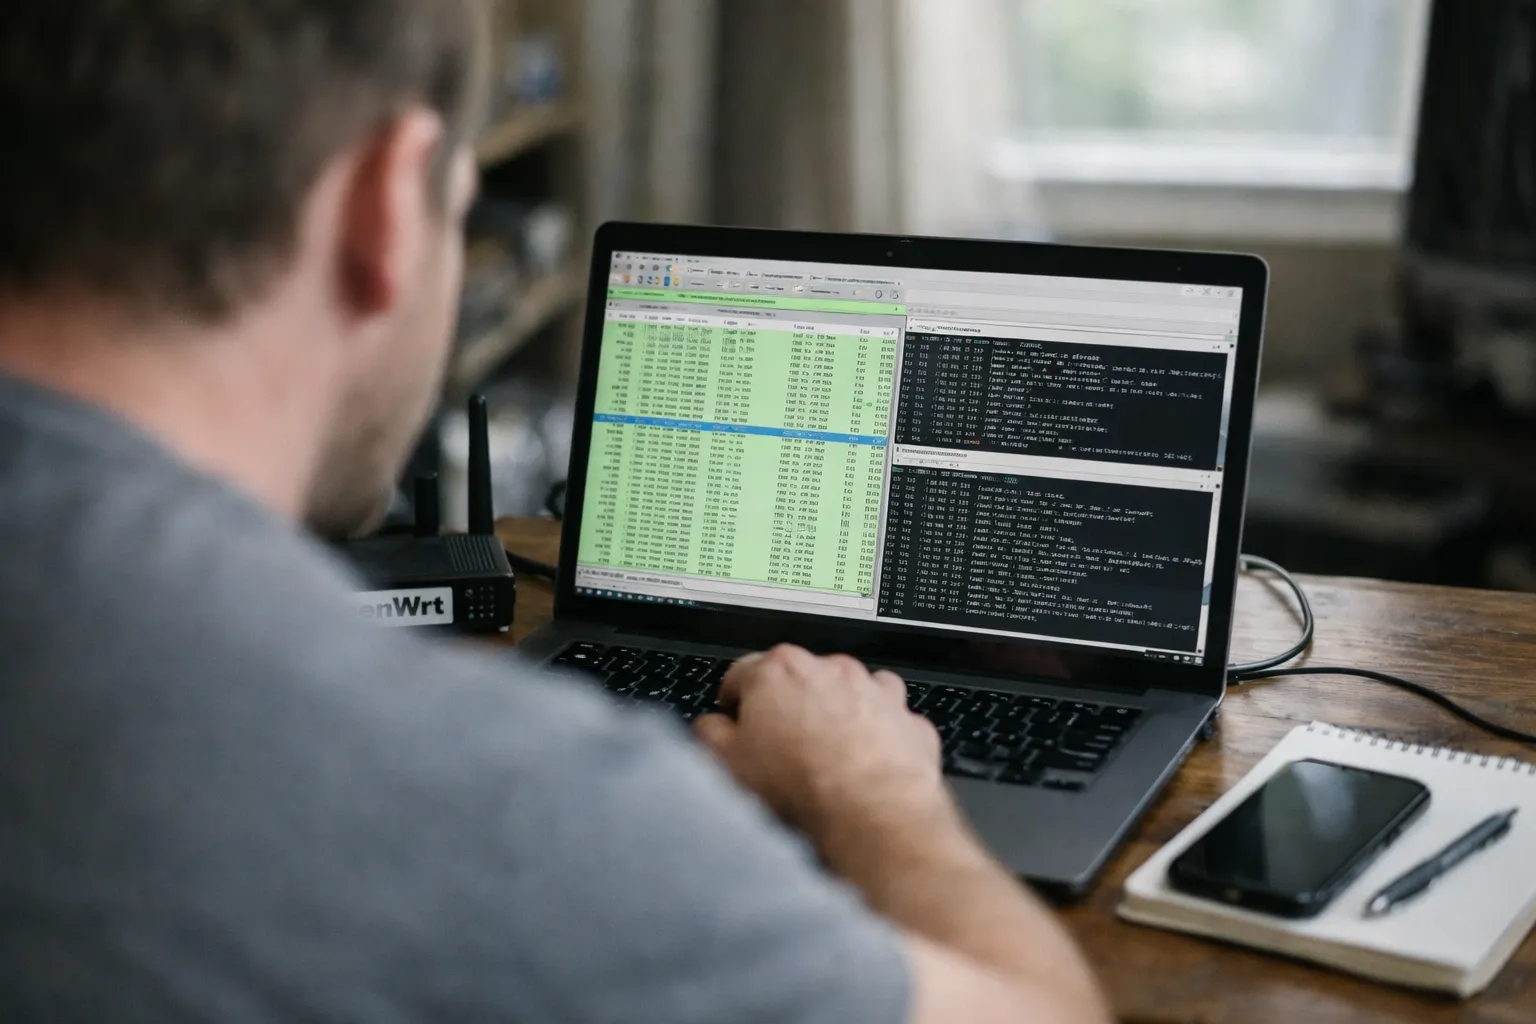
VPNs promise to hide your IP and DNS queries, but misconfigurations and OS behaviours still cause leaks. This guide walks VPN enthusiasts through concrete, reproducible steps to detect and eliminate DNS and IPv6 leaks across home routers, desktops (Windows/Linux/macOS), and mobile (Android/iOS) in mid‑2026. You’ll get commands, firewall rules, and verification techniques that work with common VPNs (WireGuard, OpenVPN, consumer clients).
Why DNS and IPv6 leaks still matter in 2026
Two common leak vectors remain: DNS queries escaping the tunnel and IPv6 traffic bypassing IPv4‑only VPNs. DNS leaks reveal which sites you visit; IPv6 leaks can expose your true IP even when IPv4 is tunneled. OS resolver updates (systemd-resolved, Android per‑app VPNs, iOS split routing), home routers (OpenWrt, pfSense), and tunnel client defaults are frequent contributors.
Overview: workflow for reliably fixing leaks
- Understand how your VPN handles DNS and IPv6.
- Run active leak tests (DNS, IPv6, packet captures).
- Apply fixes: force DNS through the tunnel, block non‑VPN DNS, and either route IPv6 over VPN or block it at the edge.
- Verify with repeated automated tests and remote checks.
Step 1 — Map where leaks can occur
Check these components for possible leakage:
- VPN client behavior: Does it push DNS? Does it configure IPv6 routes?
- OS resolver: systemd-resolved, Windows DNS cache, macOS mDNSResponder.
- Router: port forwarding, DNS proxy (dnsmasq/Unbound), and baked DNS settings.
- Split tunneling: per‑app or per‑destination rules that intentionally bypass the tunnel.
Step 2 — Basic, quick tests (client-side)
Run these lightweight checks first.
- Check IPv4 public IP (over VPN): curl --interface tun0 ifconfig.co
- Check IPv6 public IP (over system default): curl -6 https://ifconfig.co
- DNS resolution source: dig @resolver1.opendns.com whois.opendns.com +short
More practical checks:
- Web‑based: visit ipleak.net, dnsleaktest.com on each device while VPN is active.
- Command line DNS test: dig +short A whoami.ds.akahelp.net TXT @1.1.1.1 (this returns client info from specific resolvers).
Step 3 — Deep packet tests (recommended)
To be sure, capture packets on the interface that should be carrying VPN traffic and on the LAN interface that should not. Example Linux commands (requires root):
sudo tcpdump -i tun0 -n port 53 or icmp or 'ip6' -w vpn-tun.pcap
sudo tcpdump -i eth0 -n port 53 or icmp or 'ip6' -w lan.pcap
Open the pcaps in Wireshark or use tshark to filter DNS/IPv6 traffic escaping the tunnel:
tshark -r lan.pcap -Y 'dns or ipv6' -T fields -e frame.number -e ip.src -e ip.dst -e dns.qry.name
If you see DNS queries from device IPs on your LAN or IPv6 packets leaving via eth0, you’ve got a leak.
Step 4 — Fix DNS leaks
Two principles: make sure DNS requests go to resolvers inside the tunnel, and block DNS to any other server directly from the device or router.
On routers (OpenWrt / dd‑wrt / pfSense)
- Use Unbound or dnsmasq as the local resolver and point it to upstream resolvers reachable only via the VPN interface. On OpenWrt, configure dnsmasq to use the VPN interface resolver.
- Example dnsmasq snippet (OpenWrt /etc/dnsmasq.conf):
# Force DNS to 10.0.0.1 (VPN gateway)
server=/ /10.0.0.1
interface=lan
bind-interfaces
- Block outbound DNS over the WAN interface at the firewall so devices cannot query upstream resolvers directly (TCP/UDP 53 and DoT/DoH IPs). In iptables/nftables: block UDP/TCP 53 from LAN to WAN.
On Linux desktop (systemd-resolved)
- Make systemd-resolved send DNS to the VPN: use resolvectl to set per‑link DNS to your VPN interface:
sudo resolvectl dns tun0 10.64.0.1
sudo resolvectl domain tun0 ~.
- Then add a firewall rule to block DNS to the real network device: nft add rule ip filter output oifname "eth0" udp dport 53 drop
On Windows
- If the client pushes DNS, it should update the interface; verify with PowerShell: Get-DnsClientServerAddress
- If DNS escapes, set DNS server for the interface used by the VPN or use a local DNS proxy and block DNS to WAN with Windows Firewall outbound rule blocking UDP/TCP 53 when interface = Ethernet.
On macOS
- VPN clients often modify resolver configuration. Check with scutil --dns. If apps are using mDNSResponder that bypasses the interface, run a local DNS proxy like dnscrypt-proxy and enforce localhost as resolver.
Step 5 — Fix IPv6 leaks
Choices: route IPv6 through the VPN (best privacy) or block IPv6 at the client or edge (safer if the VPN doesn’t support IPv6).
Option A — Route IPv6 over the VPN (recommended if supported)
- WireGuard: configure wg0 with AllowedIPs including ::/0 and ensure the server advertises an IPv6 route. Example client AllowedIPs = 0.0.0.0/0, ::/0
- OpenVPN: add server tun6/route-ipv6 and push "route-ipv6 ::/0".
- Ensure the VPN endpoint has an assigned IPv6 address and forwards IPv6 traffic (NAT66 or routed prefix).
Option B — Block IPv6 (acceptable fallback)
- On Linux: disable IPv6 per interface: sysctl net.ipv6.conf.all.disable_ipv6=1 (note: system-wide changes affect apps and features).
- On routers: firewall rule to drop all outbound IPv6 from LAN to WAN (e.g., in nftables: ip6 filter output oifname "wan" drop).
- Windows: disable IPv6 in adapter settings or block using Windows Firewall outbound rules for any IPv6 traffic on the Ethernet adapter.
Blocking IPv6 avoids accidental exposure but can break IPv6‑only services or applications.
Step 6 — Prevent leaks from split tunneling and app policies
- Audit your VPN client's split‑tunnel rules. Per‑app split tunneling (Android, some desktop clients) can cause DNS/IPv6 leaks if the OS uses system resolvers outside the tunnel.
- Prefer destination‑based split‑tunnel (by IP range) over per‑app when possible, and verify that the DNS queries for tunneled apps resolve via the tunnel.
Step 7 — Re-run verification with automated checks
Use repeatable tests to validate your changes:
# Check IPv6 exposure
curl -6 -s https://ifconfig.co || echo "IPv6 blocked or unreachable"

# Check DNS server seen by remote
dig @resolver1.opendns.com whoami.opendns.com txt +short
Automate with a simple script that runs on boot and sends results to a remote logging server you control (or to a local syslog). Optionally, schedule tcpdump snapshots to detect intermittent leaks.
Examples: firewall rules you can adapt
NFTables example to block non‑VPN DNS and IPv6 over WAN:
table inet filter {
  chain output {
    type filter hook output priority 0;
    iif "lo" accept
    oif "wan" udp dport 53 drop
    oif "wan" tcp dport 53 drop
    ip6 daddr ::/0 oif "wan" drop
  }
}
pfSense: create firewall rules to block LAN->WAN TCP/UDP 53 and create an allow rule for DNS->VPN gateway. For IPv6, create a rule to block LAN->WAN IPv6 traffic unless it goes to the VPN interface.
Mobile specifics (Android 15, iOS 17)
Android: recent releases let VPN apps be per‑app or system. If your VPN client supports "Always‑on VPN" with "Block connections without VPN," enable it: Settings → Network & internet → VPN → Always-on. To confirm, run tcpdump on a local router or use the "Packet Capture" app (requires root or VPN‑based capture) to confirm DNS/IPv6 behavior.
iOS: iOS routes DNS via the active VPN by default for system‑wide VPNs. However, always test using a trusted external check (curl from a remote machine to a web service called by the device). For developers, use Apple’s PacketLogger or a Mac with QuickTime network capture via the device connection to analyze traffic.
Real‑world troubleshooting checklist
- Activate VPN and immediately run a public IP check (curl ifconfig.co).
- Run a DNS leak test on multiple browsers and via dig on the device.
- Capture packets on the LAN and VPN interfaces for 30–60 seconds and inspect for DNS/IPv6 on the wrong interface.
- If you see leaks, apply the router firewall/Unbound fix, then retest devices one at a time.
- For mobile, toggle Always‑on and Block without VPN and retest.
When to contact your provider
If your provider’s client does not support IPv6 or does not push DNS, raise a support ticket. Request documentation of the client’s DNS handling and whether IPv6 traffic is routed or blocked. A reputable provider should offer clear steps or client updates.
Final advice and monitoring
Fixing leaks is both configuration and verification work. Prefer router‑level DNS and firewall controls for network‑wide consistency. If you must disable IPv6 to avoid leaks, be explicit about the tradeoffs. Maintain an automated, periodic test (cron or scheduled task) that reports your public IPv4/IPv6 and DNS resolver fingerprints to detect regressions after OS or VPN client updates.
Use packet captures sparingly and securely—don’t upload captures with private data to third‑party services. Follow this guide step‑by‑step and you’ll eliminate the common DNS and IPv6 leak vectors that still affect VPN users in 2026.